REVIEW · CHOCOMUSEO PUERTO VALLARTA
Puerto Vallarta: 2-Hour Chocolate Truffles Workshop
Book on GetYourGuide →Operated by ChocoMuseo Puerto Vallarta · Bookable on GetYourGuide
Chocolate turns into craft fast. This Puerto Vallarta class pairs a guided museum stop with hands-on work, including marble tempering and making truffles you’ll actually take home. I love the fact that you leave with a real finished assortment, not just samples, and you’ll get to pack your own 12 chocolates before you go. One heads-up: food and drinks aren’t included, so you’ll want to plan around that.
The best part is how practical it feels. You’re not just watching; you’re mixing ganache, filling molds, decorating truffles, and learning why chocolate behaves the way it does. Past participants have also praised instructors like Lizette (sometimes listed as Elizabeth), noting the pace stays friendly even when you’re learning something new.
Because it’s a hands-on workshop, it’s designed for a smaller setup. It’s limited to 8 people, led in English, and it’s not suitable for children under 12 or wheelchair users.
In This Review
- Key things to know before you go
- Entering ChocoMuseo: cacao history plus a real-life craft
- What you’ll do first: museum time and cacao basics
- Tempering chocolate on marble: the skill behind the shine
- Mixing ganache and filling molds: making 6 filled chocolates
- Decorating truffles your way: 6 topped, packed, and ready to go
- The small group format: why 8 participants matters
- Instructor energy and teaching style: Lizette and Elizabeth
- Price and value: what $62 buys in real terms
- Planning your 2-hour workshop in Puerto Vallarta (and what to bring)
- Who should book this chocolate workshop, and who should skip
- Should you book? My straight answer
- FAQ
- How many chocolates will I make during the workshop?
- Is food or drinks included?
- How long is the workshop?
- What language is the instructor?
- What’s the group size?
- Is this suitable for children?
Key things to know before you go
- Museum + workshop in one smooth 2-hour run: a guided cacao and chocolate story, then straight into making.
- Tempering on a marble slab: you learn the technique behind glossy, set chocolate.
- You make 6 filled chocolates plus 6 truffles: an impressive take-home box for the time.
- Ganache is yours to flavor: you mix a medium ganache and add flavors, then fill and assemble.
- Small group means more hands-on time: limited to 8 participants.
- You choose toppings for your truffles: decorate your way, then pack it to go.
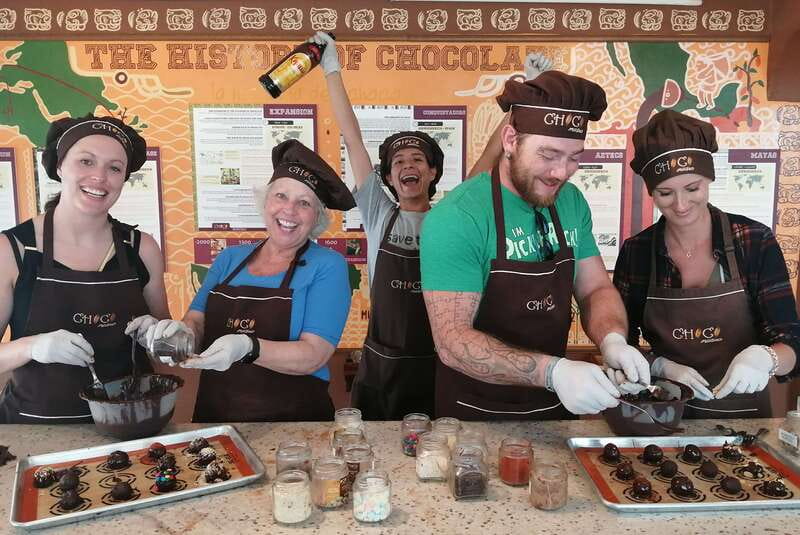
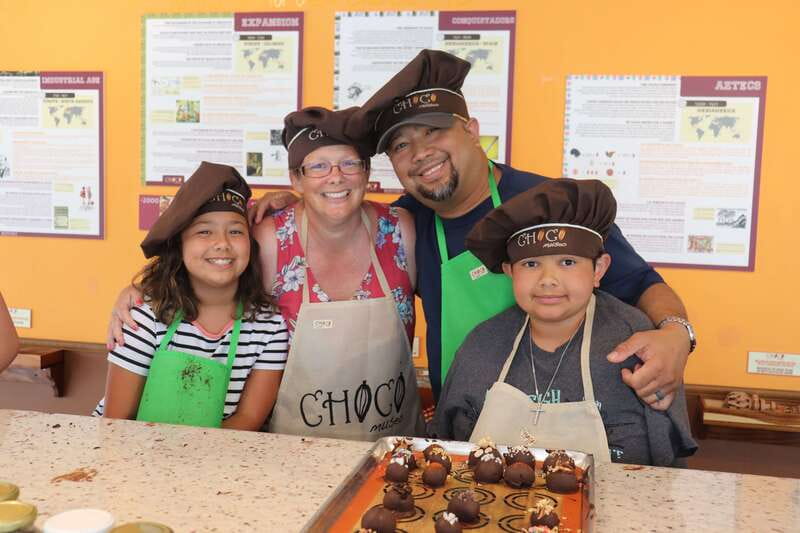
Entering ChocoMuseo: cacao history plus a real-life craft
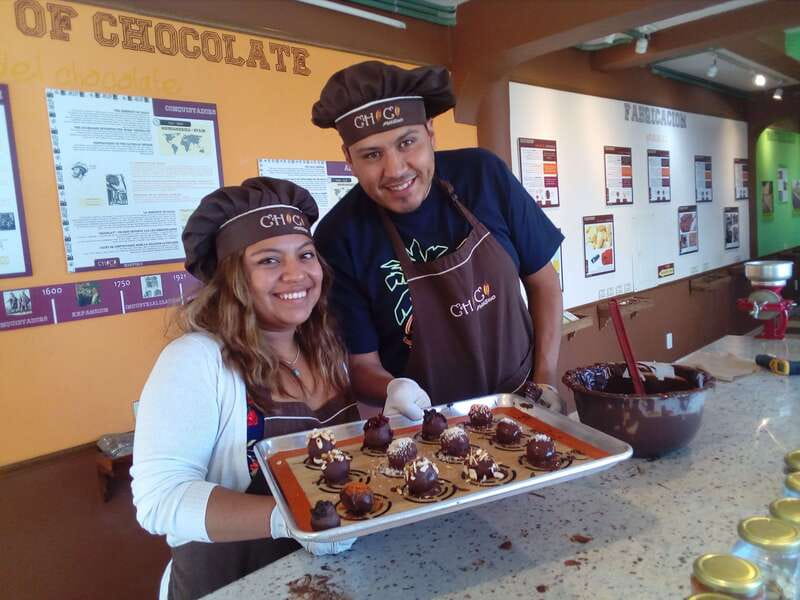
This workshop at ChocoMuseo Puerto Vallarta is built around a simple idea: chocolate isn’t random. It has a story, and it has technique. You start with a guided museum tour, then you move into the making part. The museum element matters because it gives meaning to what you’re about to do with your hands.
You’ll explore Mesoamerica’s often-overlooked history of chocolate, and you’ll get a sense of how cacao traveled from cultural roots into everyday chocolate culture. Then the class ties that story to what you’re building: chocolate is chemistry, but it’s also culture and tradition.
What I like here is the order. Learning a little context before you start tempering helps the whole process feel less like a cooking gimmick. It also makes it easier to remember what each step is for, because you can connect technique to purpose.
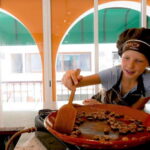
A small but useful detail: the workshop is family-friendly in style, but the operator lists no children under 12. So think “hands-on fun” rather than “free-for-all kid chaos.”
You can also read our reviews of more tours and experiences in Chocomuseo Puerto Vallarta
What you’ll do first: museum time and cacao basics
The first chunk of the experience is museum-based and guided. Expect it to be the part where you learn about cacao and chocolate history, including how cacao became important in Mesoamerica and how its story connects to modern chocolate.
This isn’t about memorizing dates. It’s about getting a mental map for what you’re making. When you later temper chocolate on marble, you’re not just following steps; you understand that chocolate has to be processed carefully so it sets with the right texture.
If you’re the type who likes travel activities that teach while you do something, this structure works well. If you’re strictly in it for tasting, note that this workshop’s emphasis is making and learning rather than a sit-down meal.
Also: museum entrance is included, so you’re not paying extra to access the space before class begins.
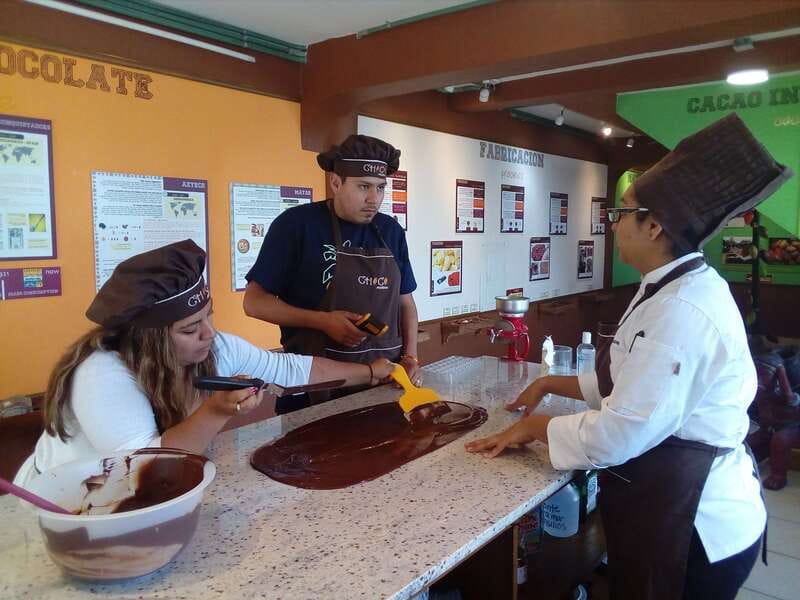
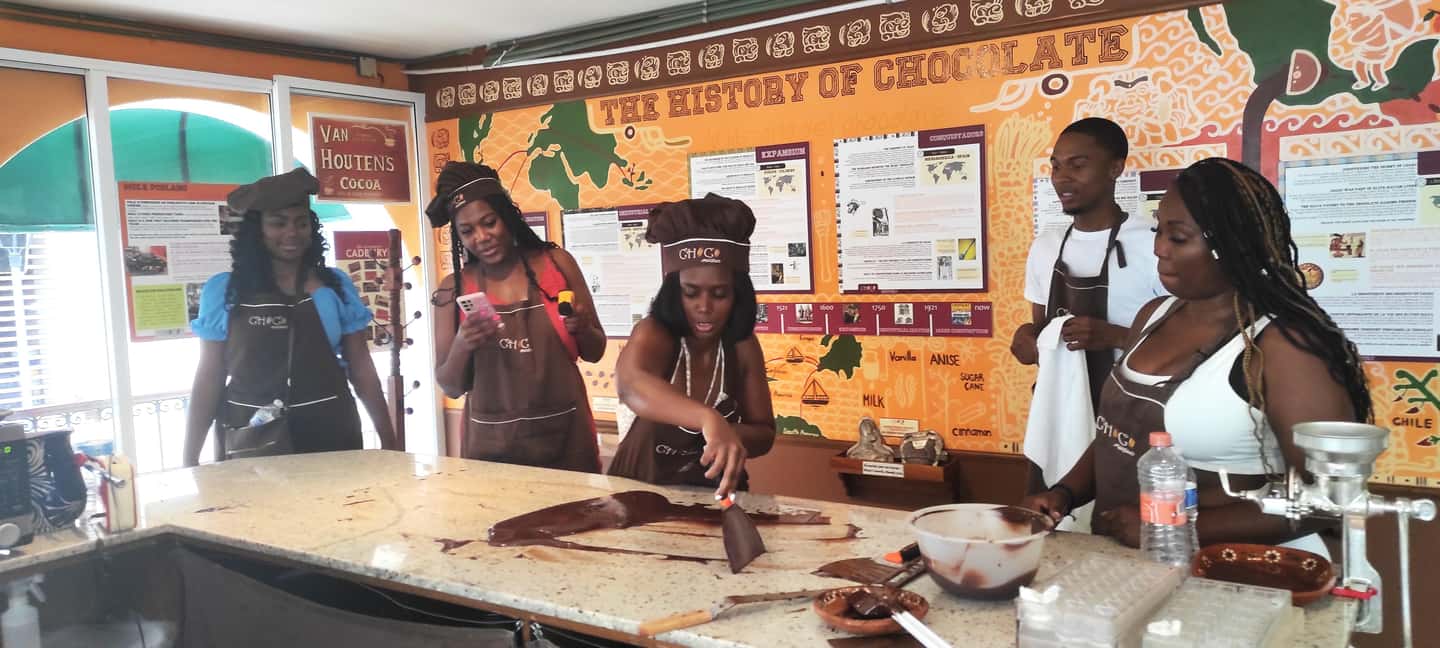
Tempering chocolate on marble: the skill behind the shine
The centerpiece skill is tempering chocolate on a marble. That matters more than most people expect, because tempering is what helps chocolate set correctly. Done well, it looks smooth and shiny, and it gives you a better bite. Done poorly, it can turn dull or feel waxy.
In this class, you learn why tempering works and how to do it using a marble surface. You’ll follow the workshop method step by step while the instructor explains what you’re seeing. Even if you’re new, the small group format helps here: with only up to 8 participants, you’re more likely to get help at the exact moment you need it.
What you’re really buying with this part of the workshop is practical knowledge. If you’ve ever wondered why homemade chocolate doesn’t look or set like store-bought, tempering is the answer. Even after a workshop ends, the memory of the process gives you a foundation you can use later when you try making chocolate again at home.
Past participants have specifically called out the tempering and molding as the hands-on highlights, which makes sense. This is where the class shifts from learning to craft.
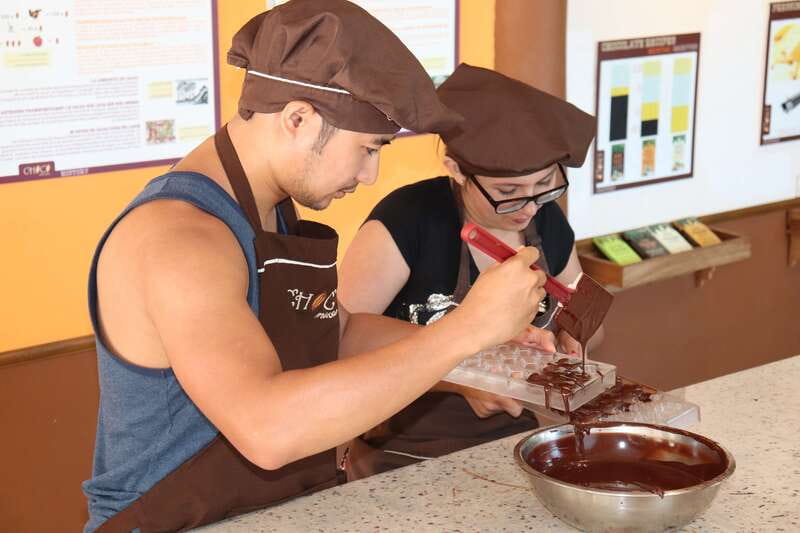
Mixing ganache and filling molds: making 6 filled chocolates
Once you’re set up for the chocolate work, you move into ganache preparation. You’ll make flavored ganache as part of the process, and then you’ll use it to create filled chocolate bonbons.
The class includes molding 6 filled chocolates with ganache. This step is part art and part technique. You’re working with chocolate shells and then adding the filling, which means you need to work carefully so the structure stays neat.
You’ll also learn how the workshop portion is designed to keep you moving. The goal is that you participate in the steps, not just watch someone else do the hard parts. People have mentioned that the instructor stays patient and encourages everyone to contribute, which is exactly what you want in a first-time workshop.
This is a good moment to slow down and pay attention. Filling and sealing is one of those steps where “good enough” still looks okay, but the technique learned here can make your finished pieces look more polished.
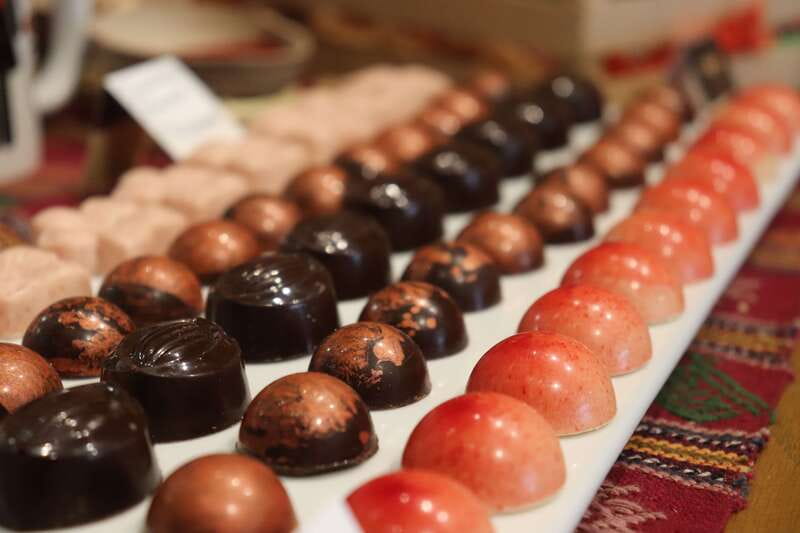
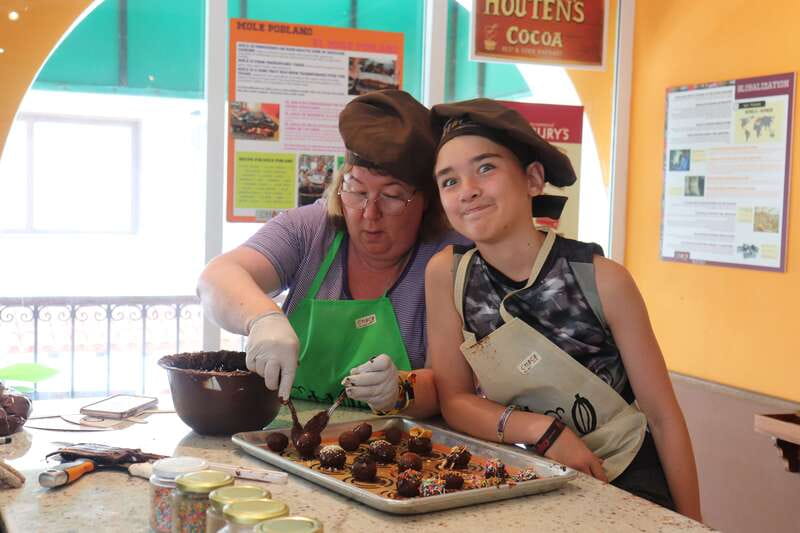
Decorating truffles your way: 6 topped, packed, and ready to go
Next comes the fun part: truffles. You’ll prepare and decorate 6 truffles with toppings of your choice. That customization is more than just a cute add-on. It’s what turns a basic chocolate project into something personal.
Toppings give you texture contrasts: crunch, saltiness, sweetness, or spice, depending on what’s available and what you pick. The truffle stage is also where people tend to get excited, because it’s visible progress. You go from handling chocolate and filling molds to creating finished bite-size desserts.
When you’re done, you pack what you made and take it with you. That “take-home” element is a major value driver here. You’re not leaving with a recipe and vague memories; you’re leaving with an actual box of handmade chocolates.
A practical note: since food and drinks aren’t included, you’ll want to eat before or plan a snack after. But that’s also why the take-home chocolates are so satisfying. You can enjoy them later rather than relying on the workshop itself to serve refreshments.
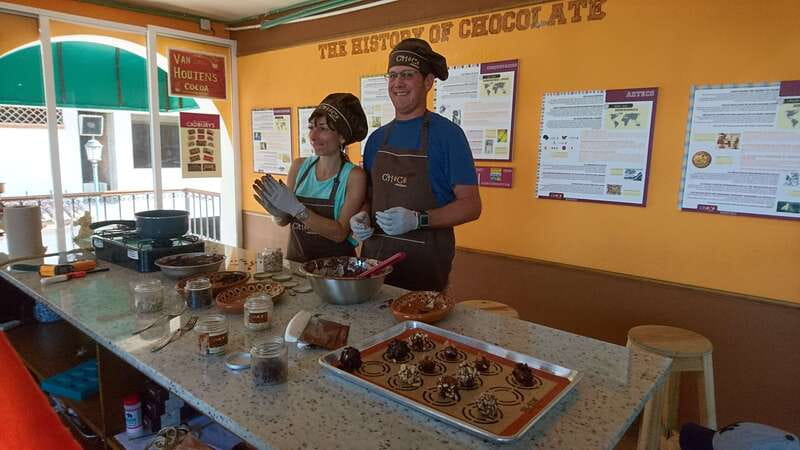
The small group format: why 8 participants matters
This is limited to 8 participants, and that constraint shapes the entire experience. When there aren’t many people, the instructor can check your technique sooner. It also keeps the pace manageable, especially if it’s your first time with tempering and molding.
You’ll also get an English-speaking instructor, which helps a lot for technique-based learning. Chocolate has real timing and texture changes, so clarity matters.
One more detail that helps: you get an apron and a hat for the duration. It’s not just for fun. It signals that you’re in “hands-on mode,” and you’ll likely feel more comfortable as you work with ingredients and chocolate.
Instructor energy and teaching style: Lizette and Elizabeth
In past experiences, the instructor has been praised for being patient, funny, and informative. Names that show up include Lizette and Elizabeth (depending on how listings label the instructor). The pattern is consistent: you get explanations that make sense, and support when your hands are learning a new skill.
What you should look for in a class like this is the balance between guidance and independence. This workshop includes both. You’re led through the process, but you’re not stuck doing one small task. You’re expected to make the chocolates.
If you enjoy classes where you leave with a skill and a story, this tends to hit the mark.
Price and value: what $62 buys in real terms
At $62 per person for 2 hours, the price can look like “just chocolate,” until you break it down. You’re paying for four things at once:
1) museum entrance
2) ingredients and materials to make your own chocolates
3) expert instruction (including tempering guidance)
4) the finished product: 6 filled chocolates + 6 truffles
That take-home quantity is the biggest reason it feels reasonable. Boutique chocolate can get expensive fast, and handmade boxed chocolates cost even more at home. Here, you’re effectively paying for instruction plus a full chocolate output, rather than paying only for sweets.
Also, the class teaches technique you can reuse. Tempering isn’t something you learn by watching a quick video and hoping for the best. Having a guide show you how it’s done in a workshop setting is a real value.
For couples and friends, it can also feel like a smart “experience dinner replacement.” You’re spending about the same time as a meal, but you take something home that lasts longer than a dessert course.
Planning your 2-hour workshop in Puerto Vallarta (and what to bring)
This workshop runs 2 hours, and it’s a small-group setting, so you’ll want to arrive on time. The provider notes that transportation isn’t included, so you’ll handle getting there on your own.
What to bring is simple:
- Comfortable shoes
- Comfortable clothes
You’ll be in a working environment for the duration, with chocolate and ganache prep. If you’re sensitive to stains, you may still want a layer that you don’t mind getting a little chocolate on it, even with the apron provided.
And one practical thing to remember: no food or drinks are included. If you’re pairing this with other Puerto Vallarta plans, I’d schedule it after breakfast or plan a snack stop afterward.
Who should book this chocolate workshop, and who should skip
This is a strong fit if you want a hands-on Puerto Vallarta experience that isn’t just sightseeing. It works well for:
- couples who like shared activities
- friends who want something creative and social
- anyone curious about cacao beyond dessert stereotypes
It’s also good if you enjoy learning in a practical way, because the tempering skill is something you can carry forward.
Skip it if:
- you’re looking for something fully accessible for wheelchair users (the activity is not suitable for wheelchair users)
- you’re traveling with children under 12 (not suitable)
- you want a meal included (food and drinks aren’t included)
One extra consideration: the class isn’t described as vegan-focused. If you’re vegan, you might find their shop has vegan items, but the workshop itself is not guaranteed vegan-friendly.
Should you book? My straight answer
If you’re in Puerto Vallarta and you like your experiences hands-on, this workshop is worth booking. The combination of cacao history, real tempering practice, and a solid take-home haul of 12 chocolates makes it feel like more than a short sugar activity.
Book it if you’ll enjoy learning a technique and you want a meaningful souvenir that you actually eat. I’d hesitate only if you’re passing through and can’t fit two hours, or if you’re counting on the class to provide snacks and drinks.
If you do book, show up early with comfortable shoes, eat beforehand, and be ready to get messy in the best way.
FAQ
How many chocolates will I make during the workshop?
You’ll make 6 filled chocolates with ganache and prepare 6 truffles that you decorate with your chosen toppings, for a total of 12 chocolates to take home.
Is food or drinks included?
No. Food and drinks are not included.
How long is the workshop?
The workshop lasts 2 hours.
What language is the instructor?
The instructor teaches in English.
What’s the group size?
The workshop is a small group limited to 8 participants.
Is this suitable for children?
It is not suitable for children under 12.